Style options are endless when it comes to hair extensions. While there are a few different types you can get such as clip-ins, sew-ins, and micro-links, tape-ins are also another amazing option that’s making its rounds again in the beauty world. They’re loved because they lay super flat on your scalp, don’t feel heavy and are perfect for adding lots of volume. Scroll on for all tape-in deets and hair inspo!
View this post on Instagram
<.center>
What Tape-In Extensions Are
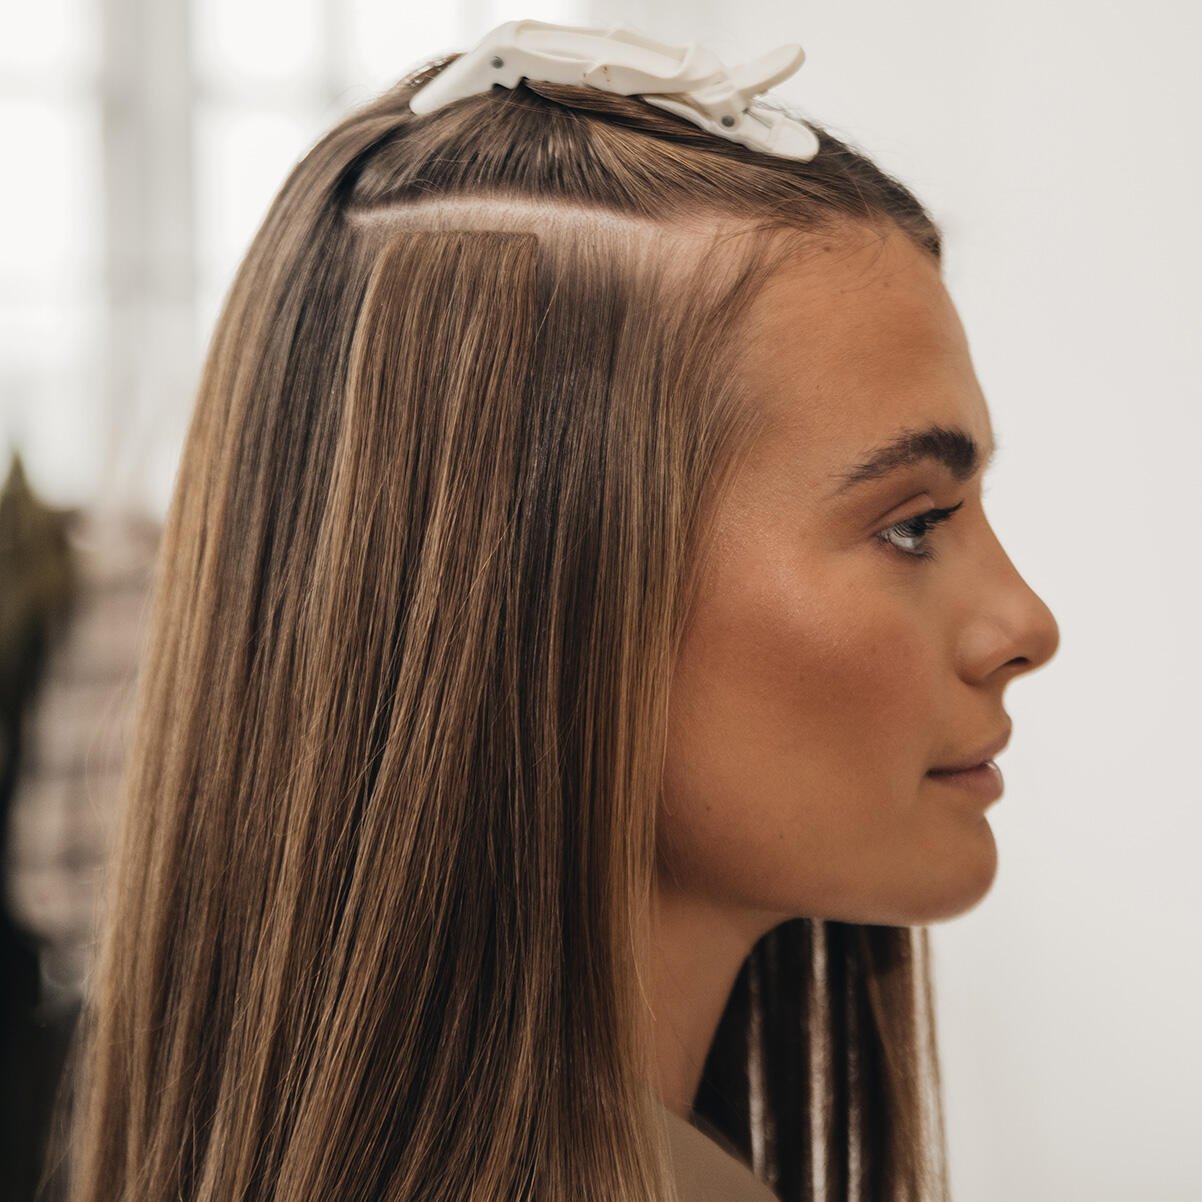
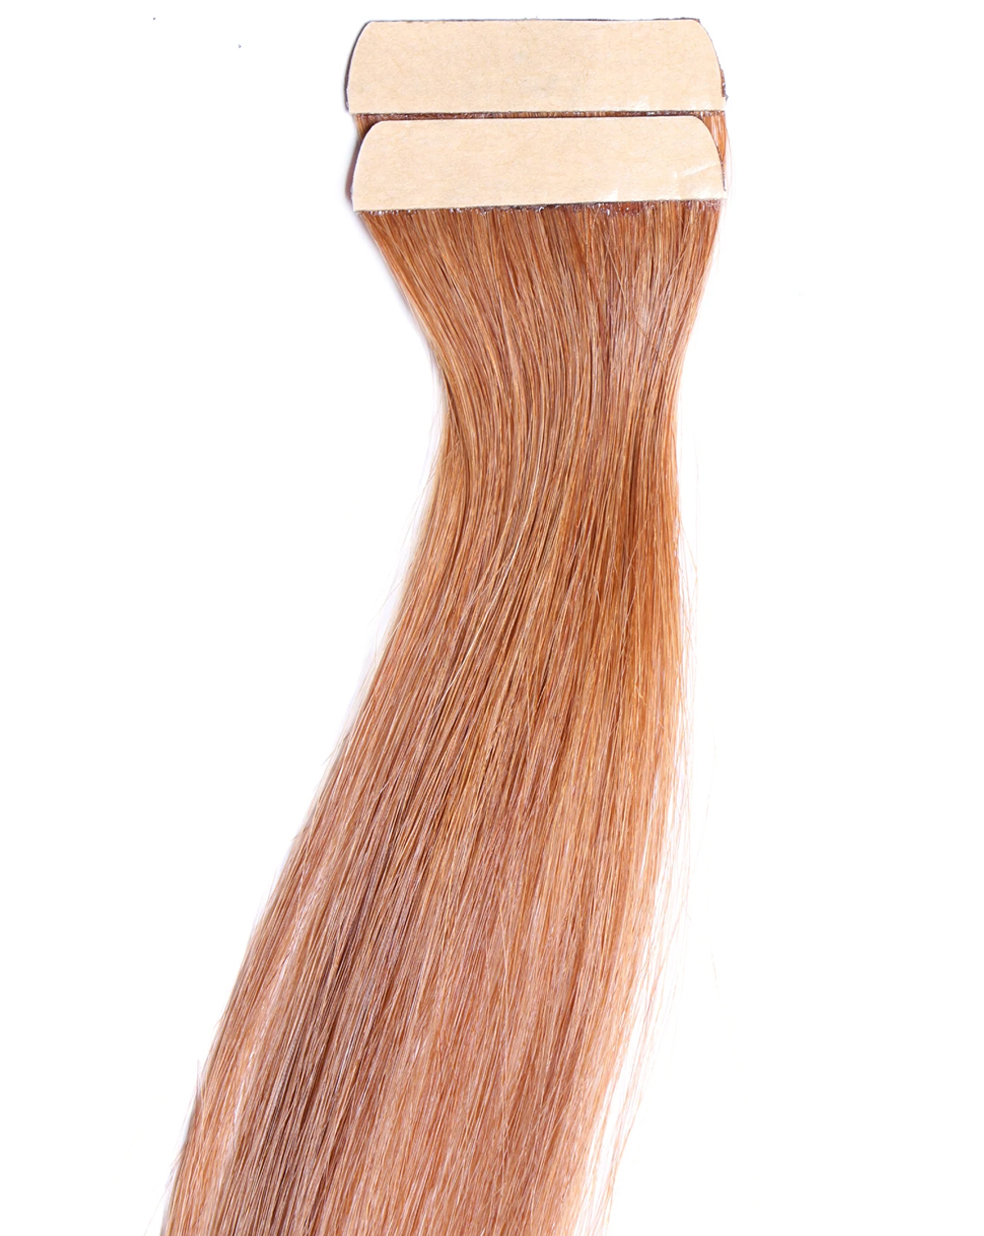
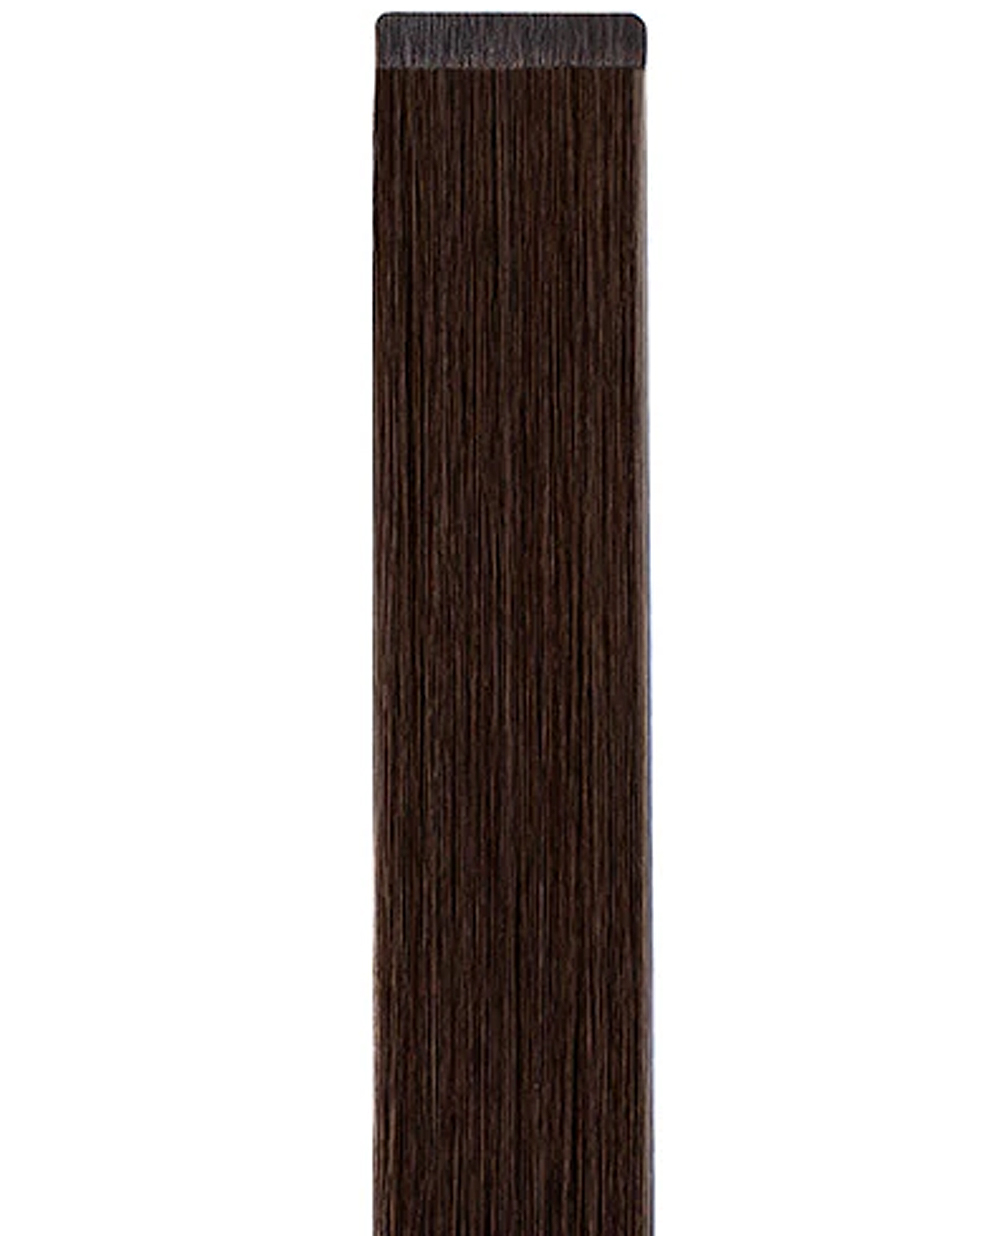
Tape-in’s are extensions that are attached to your strands with double sided medical grade tape. Medical grade tape is typically used on the skin to support and close small wounds and cuts, but when used along with hair extensions, it creates a secure bond while giving you the hair you’ve always dreamed of.
How They Work
These type of extensions are one of the easiest to apply, aside from clip-ins. They do not require heat, braiding, or any other tools in any part of the process. The process requires an extremely thin layer of your hair to be sandwiched between the tape-ins. The layers need to be thin so that the tape on both sides of the extensions can stick together through your hair. This is repeated throughout your entire head, depending on how thick you want the result to be. Expect this to take between 30 minutes to an hour.
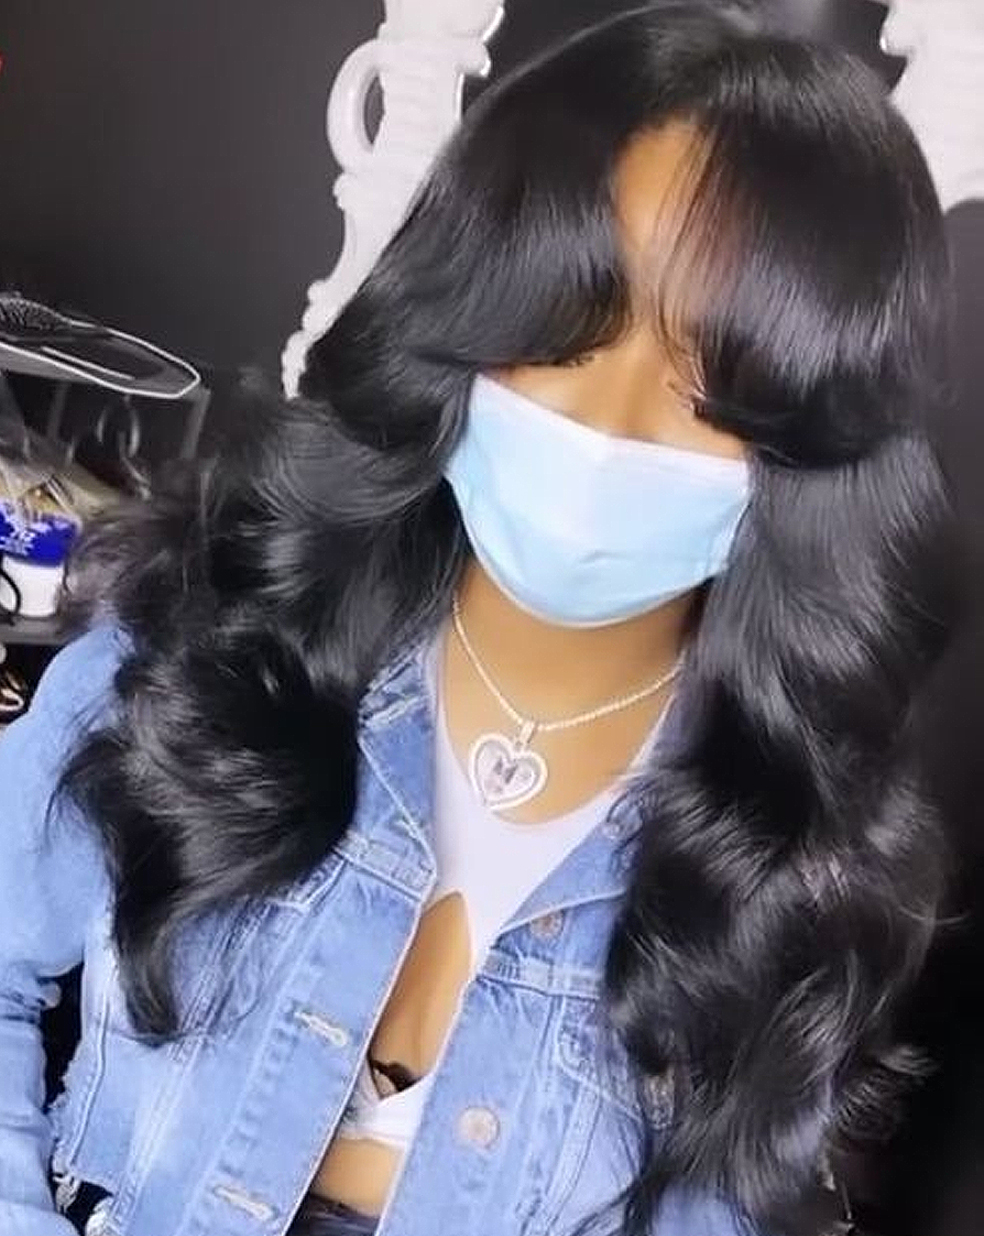
via Rapunzel of Sweden
Price & Cost
A full set of tape-in extensions will range between $300-$800 depending on the brand you buy from, the density of your hair, and how full you’d like your results to be. After buying the extensions, you’ll also have to account for the installation from your stylist which will be between about $200.
Maintenance
You can wear your tape-in extensions for about 6-8 weeks before you’ll need them either adjusted/removed and reinstalled. They need to be reapplied closer to your scalp to avoid breakage and to keep your hair healthy.
In between those times, be sure to:
– Brush your hair at least 2-3 times a day to avoid unnecessary tangling
– Avoid using oils and serums near the tape ins and your scalp as they will loosen the bond of the tabs
– Avoid shampoo with silicones
– Do not brush or comb the extensions while
How to Remove Your Tape-In Extensions
If you got tape-ins professionally installed, please get them professionally removed. Never try to remove these types of extensions by yourself unless you’re okay with the unnecessary risk of ripping your own hair out.
When the time comes to remove your tape-in hair extensions, your stylist will use liquid remover to loosen the adhesive in between the tabs. Only then can the extensions be gently removed. Next, they should be treated by washing, conditioning, and drying to get rid of old adhesive and to make sure they’re fresh, clean, and ready to reinstall. The reinstallation process is fairly simple as your stylist will grab some new tape, place it on the extensions and reattach them to your hair.
Pros & Cons of Tape-In Extensions
Pros
– Works amazingly well for thinner hair types
– Fast application time
– Lays completely flat on your head
– You can style your hair however you want
Cons
– You must avoid excessive sweating, steam, or washing your hair for 2-3 days after the application
– The tape may slip if oil or silicone products are used near them
– It may be hard to shampoo your hair properly
– Maintenance may be a bit more tough if a texture that does not match your own is purchased
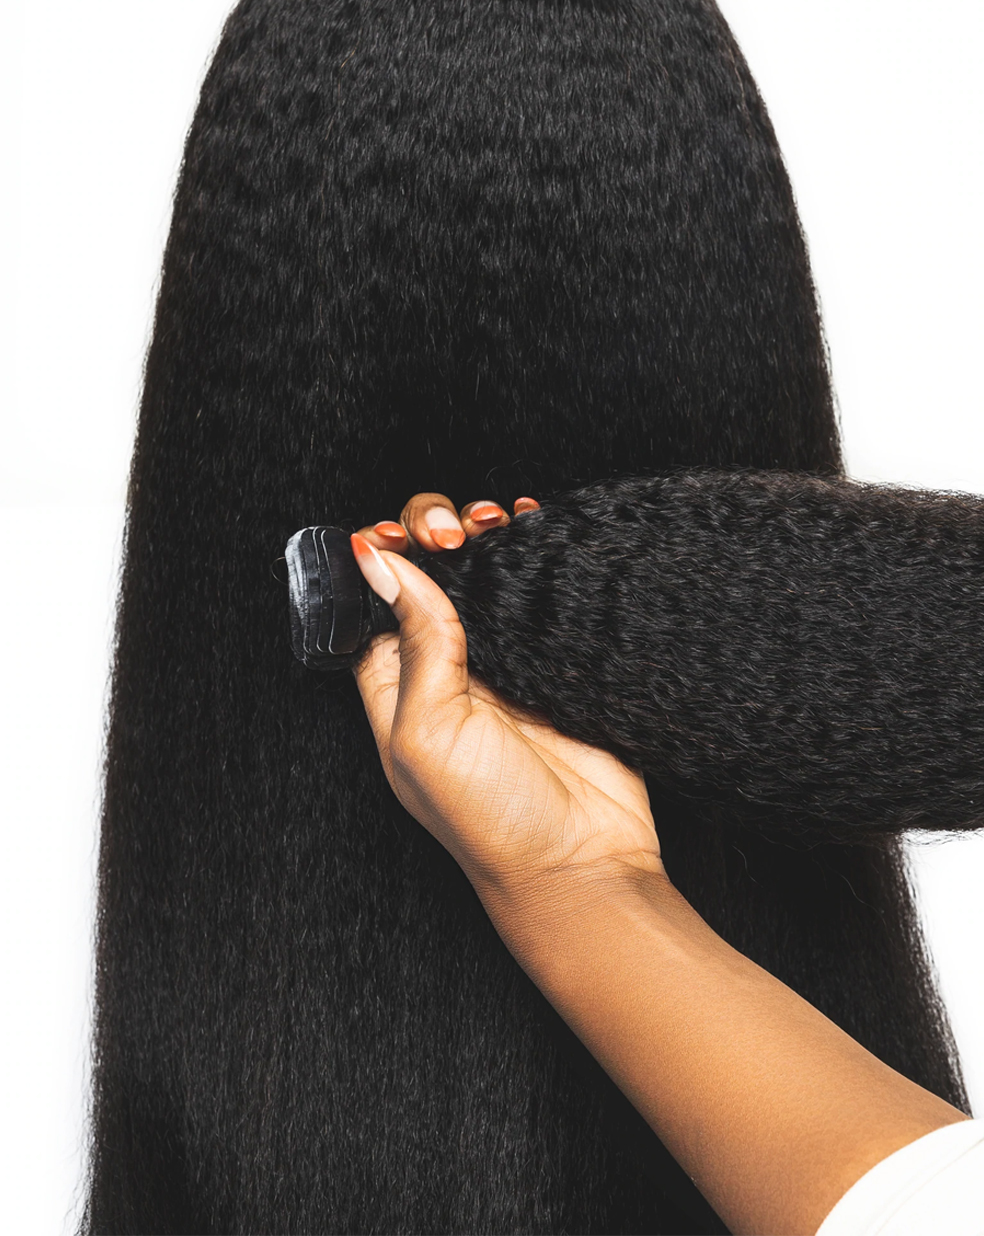
Top Tape-In Brands
|
|
True + Pure Texture |
|
Indique |

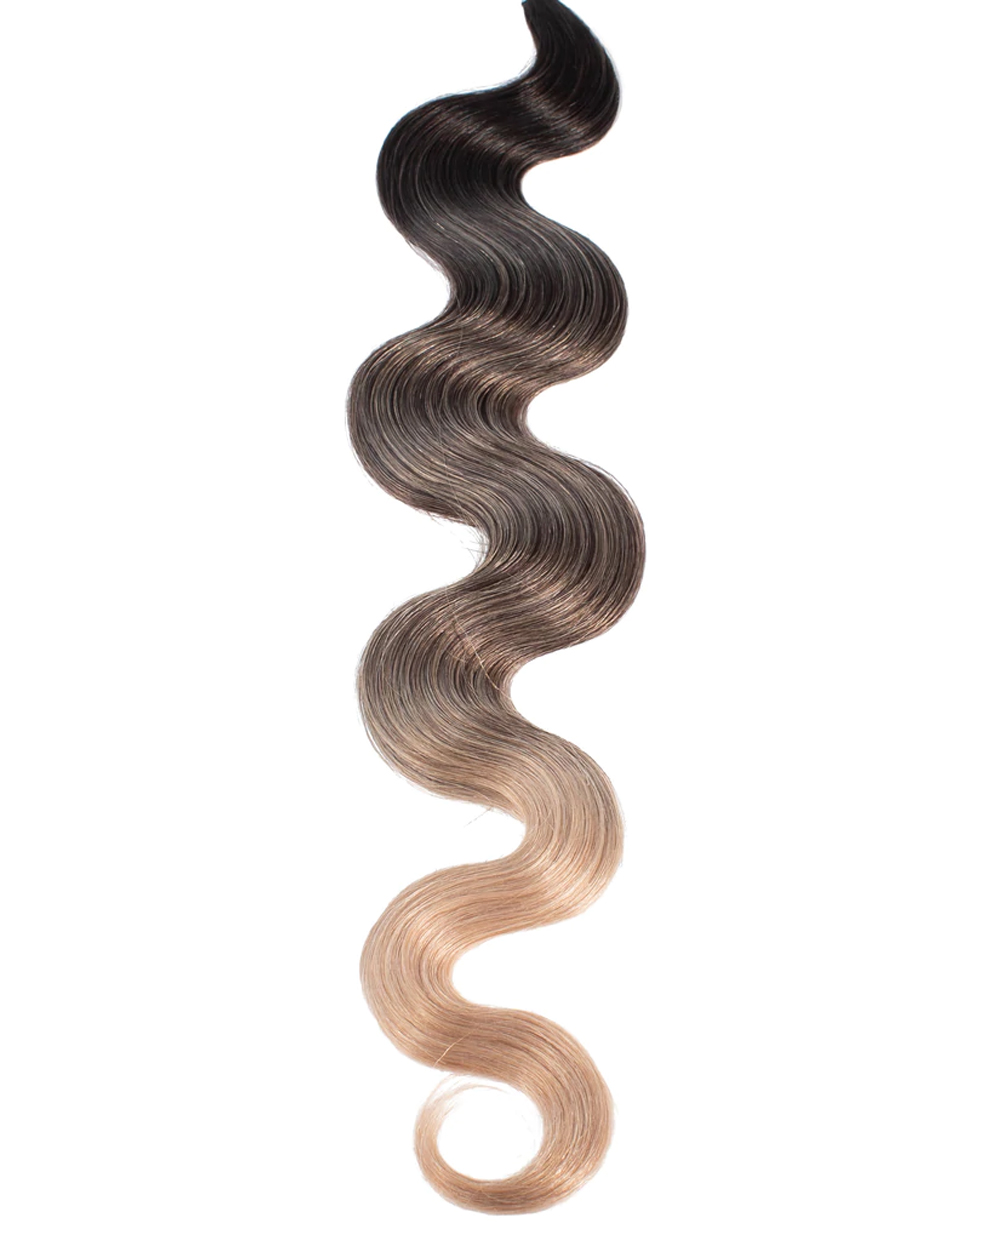
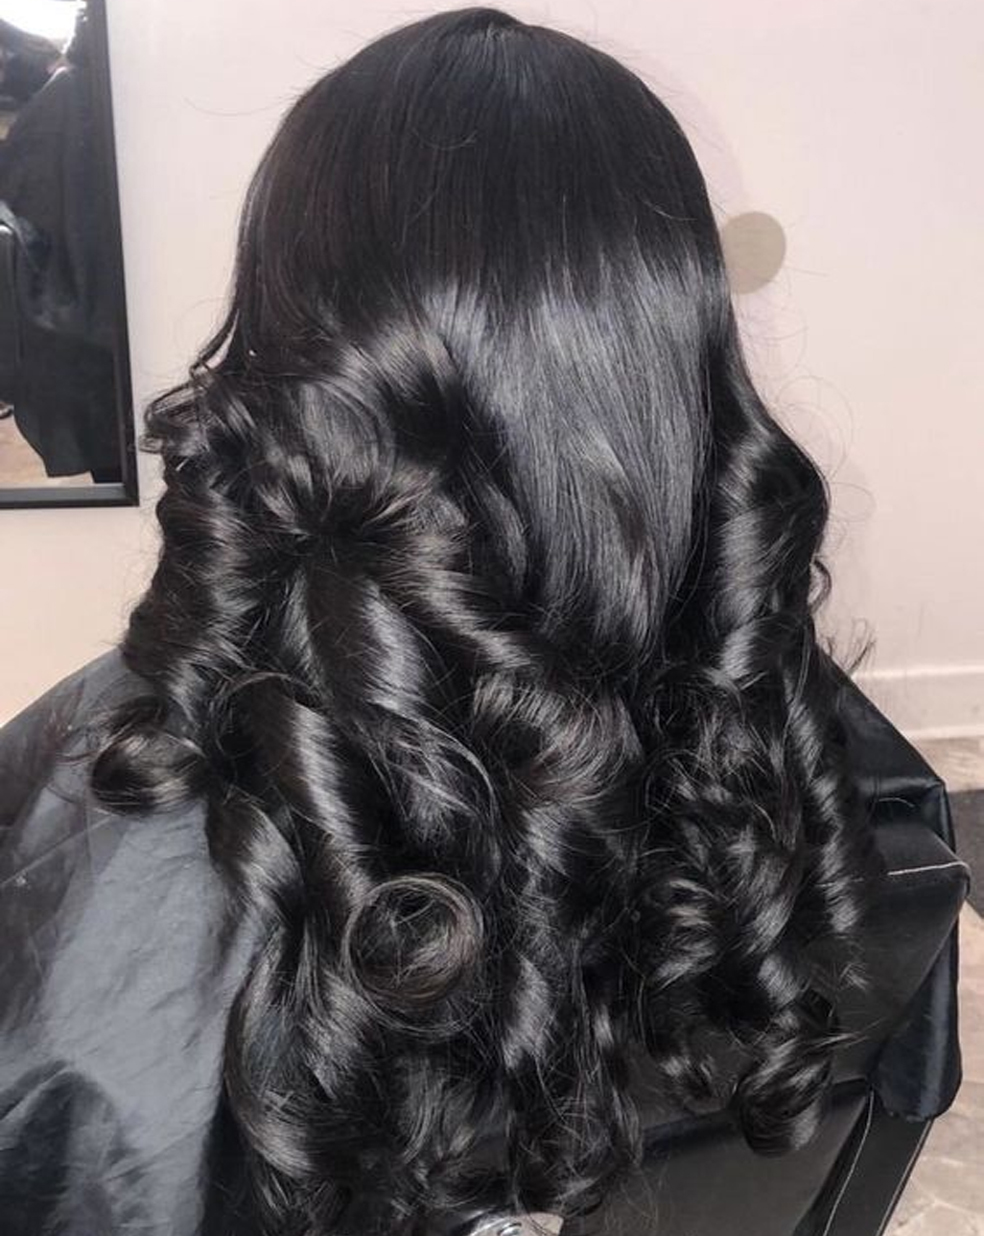
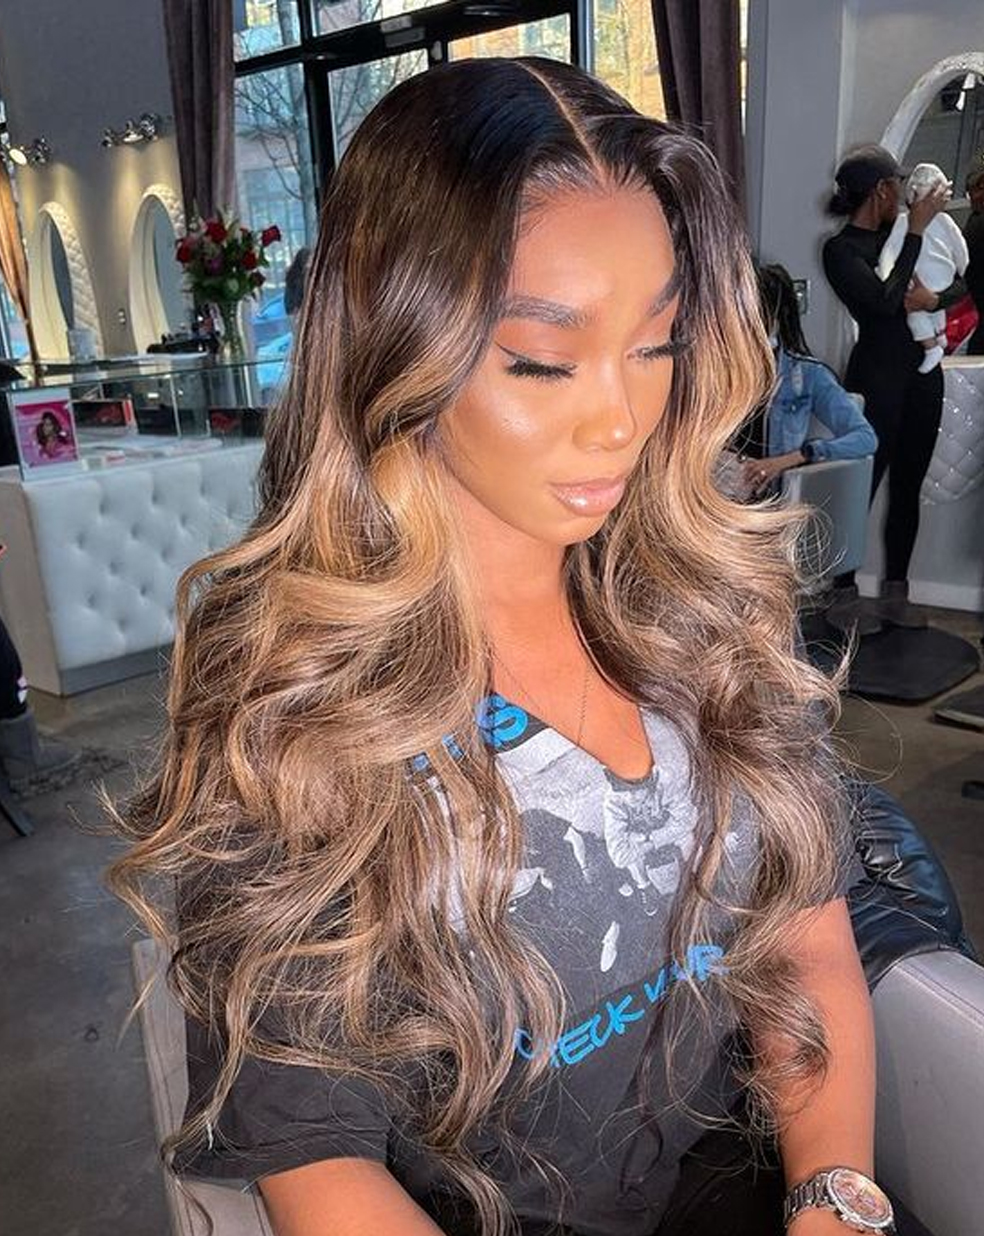
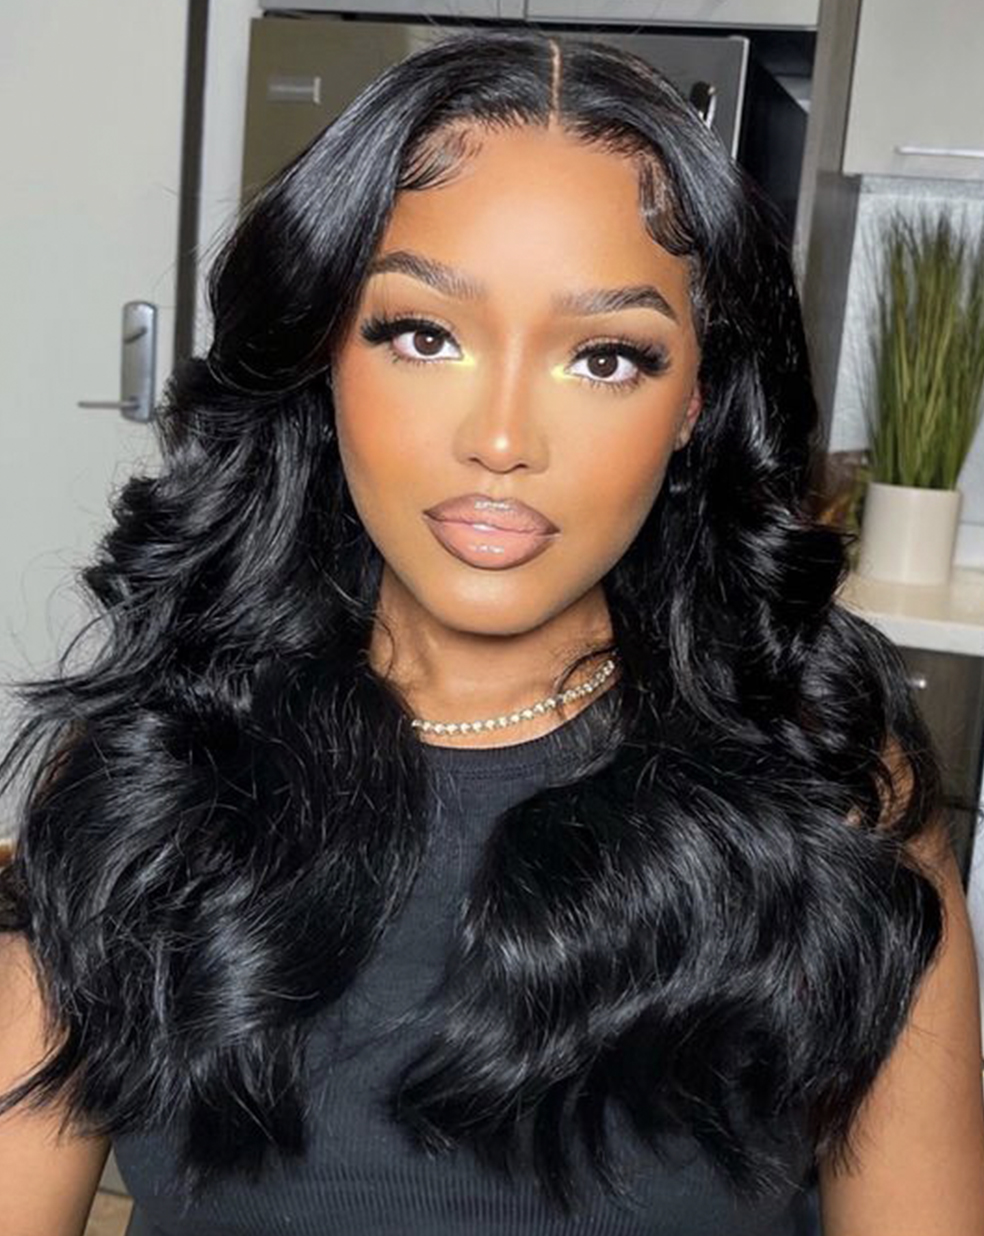
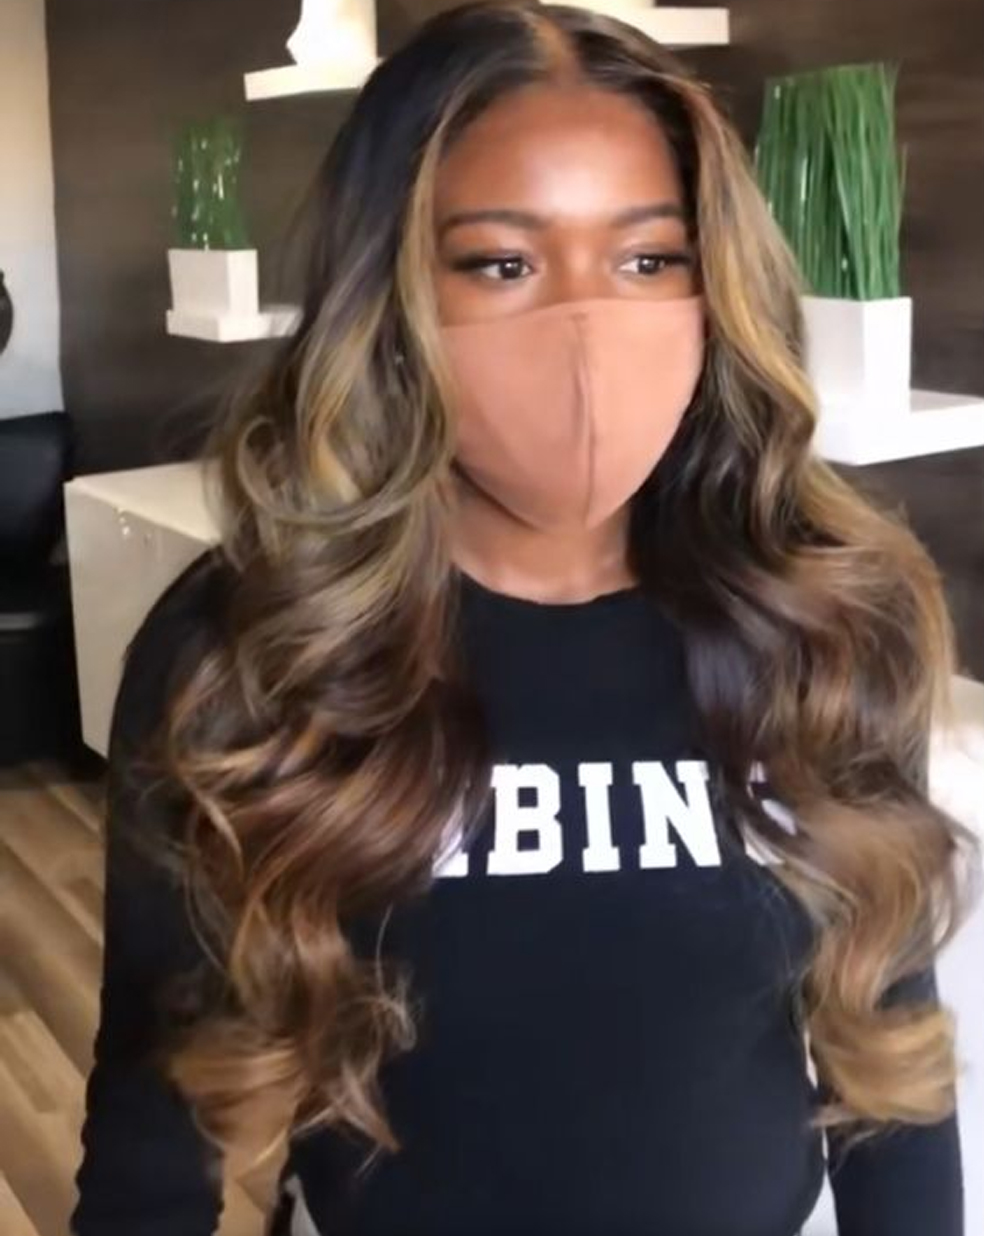
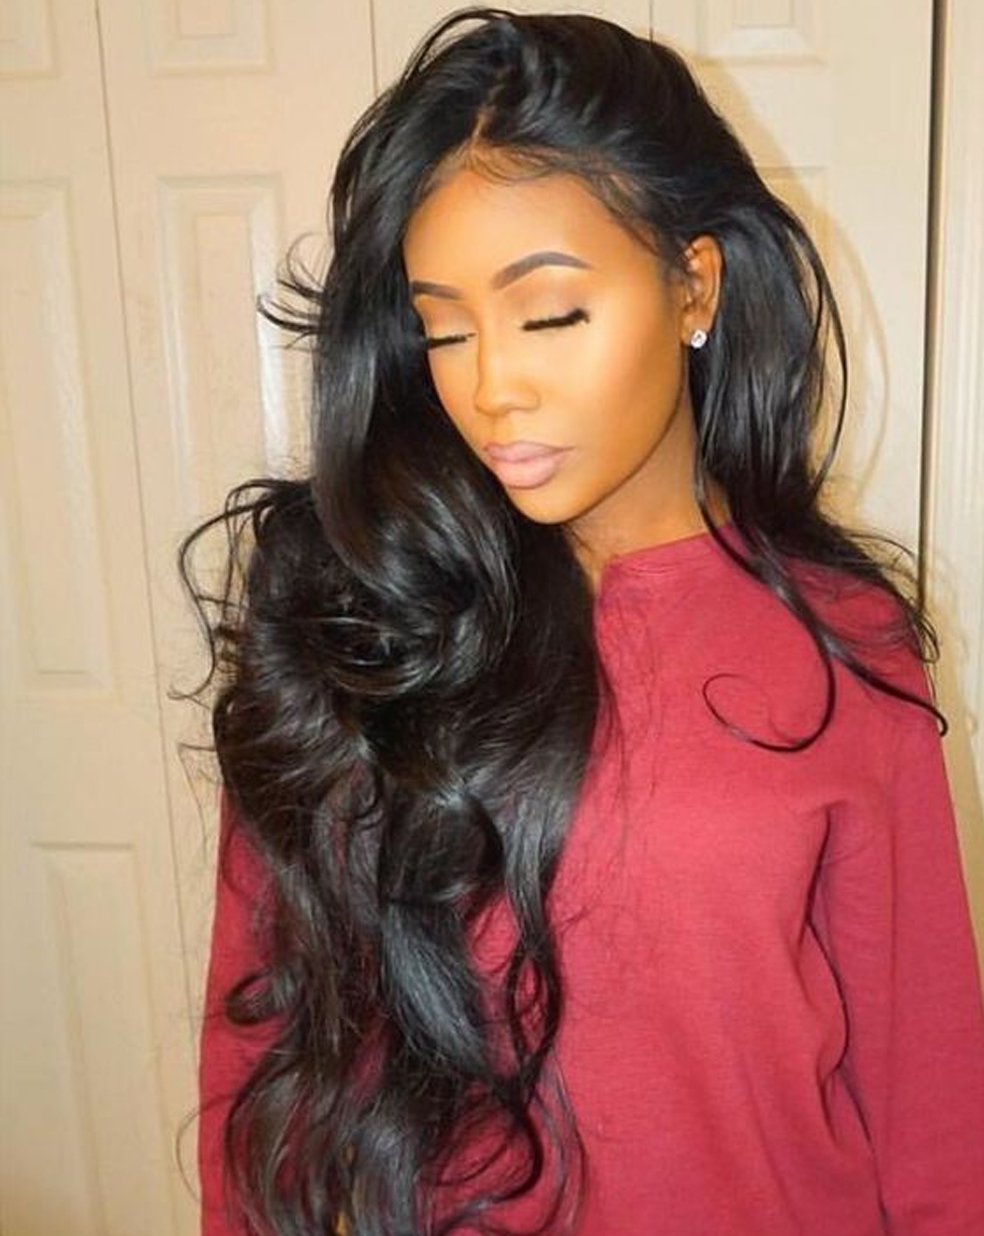
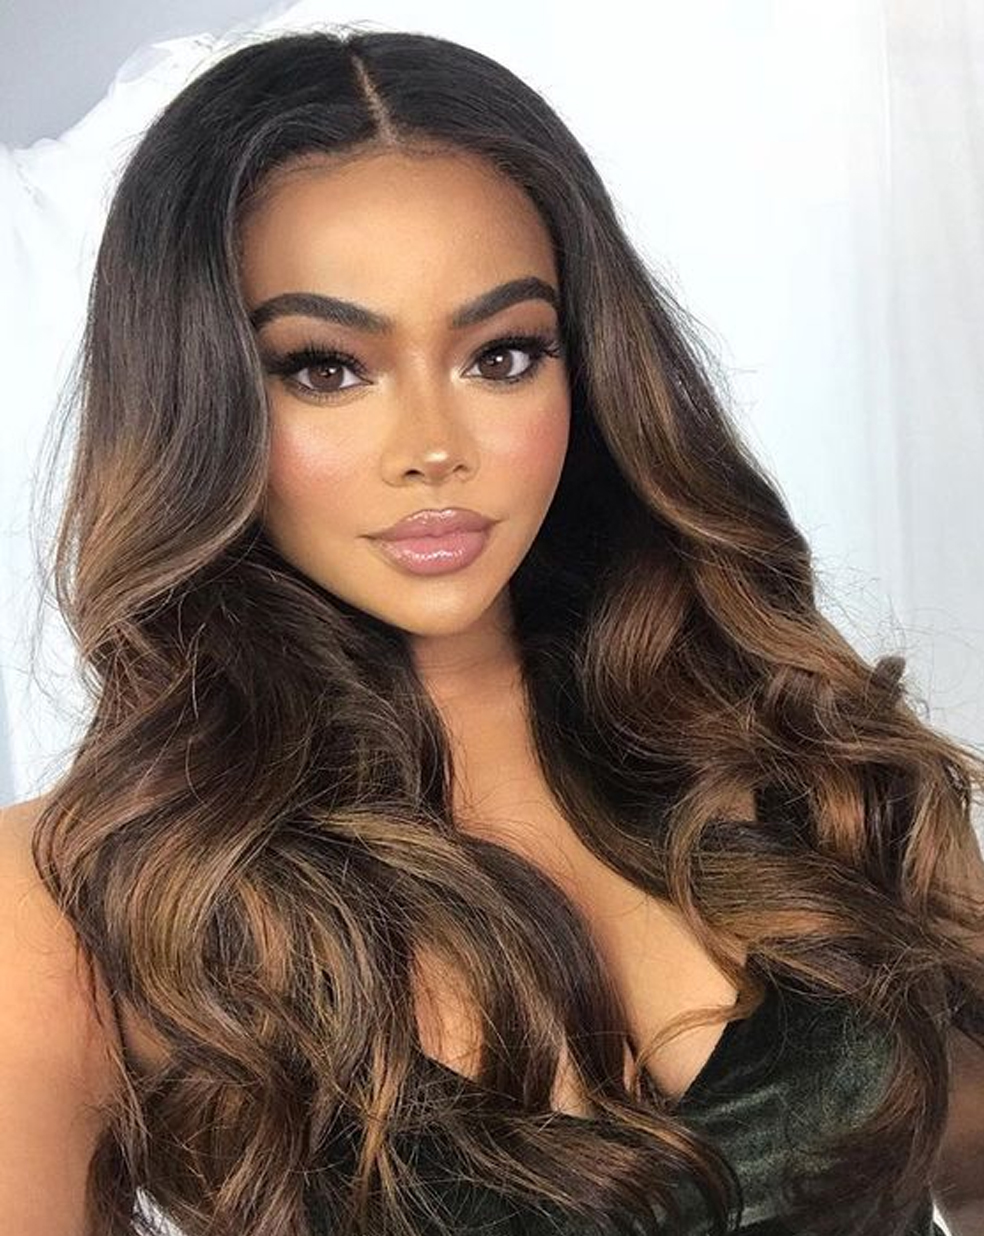
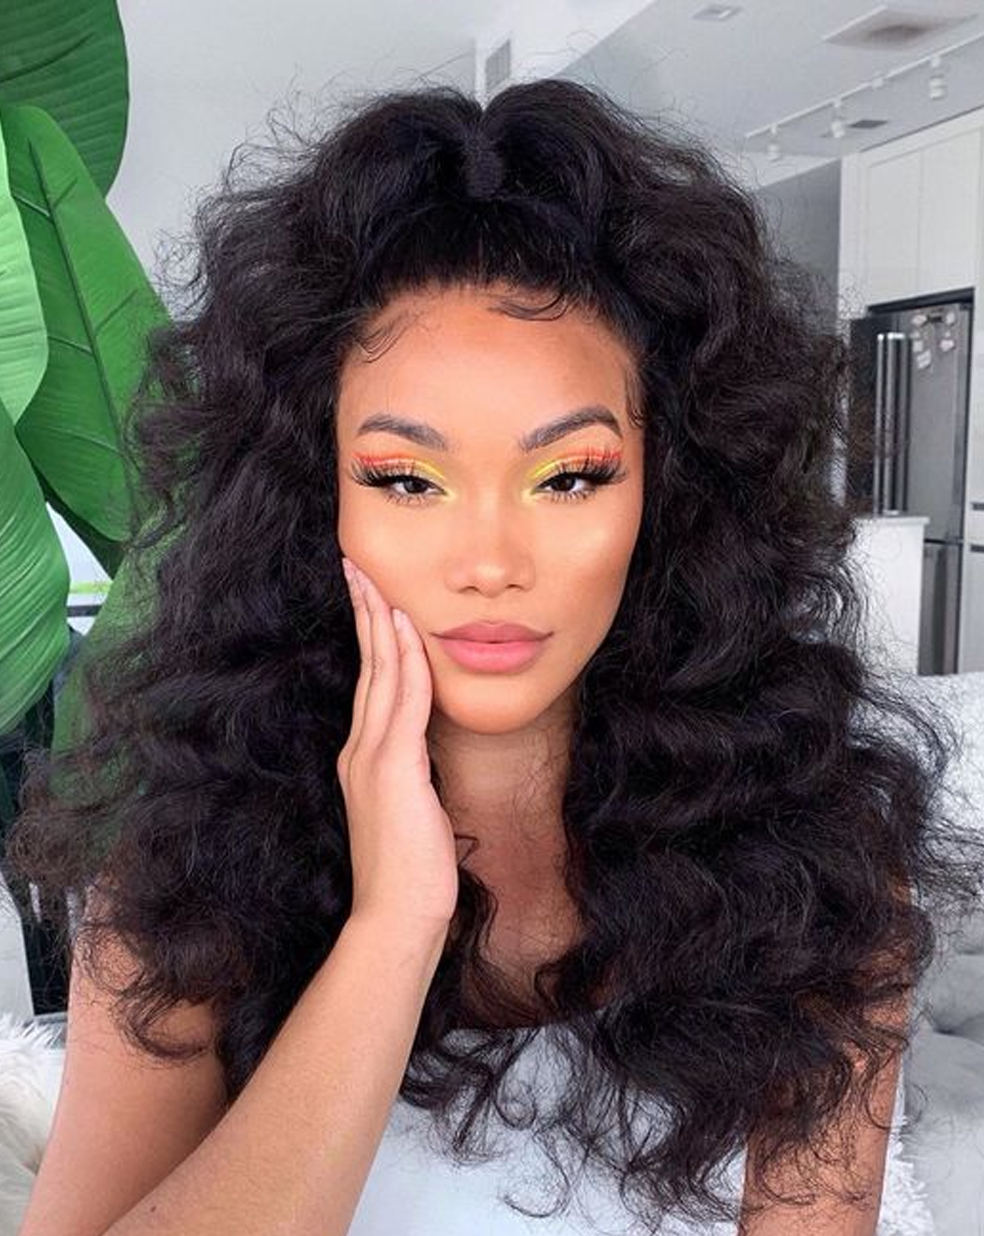
Hair Inspiration to Bring to Your Stylist
 |
 |
 |
 |
 |
 |
 |
 |
 |
Disclaimer: This post is not sponsored but some affiliate links may be used. They will direct you to a retailer website if you are interested in making a purchase. They do not cost you anything but we may earn a commission that will help us keep our site going. All thoughts and opinions are and will remain genuine.
0 Comments | Comment